

Mending a Break


Kale Vogt
Jan. 9, 2024
“Shit,” Chris said.
I didn’t even see it happen because it didn’t make a sound – the crack that appeared on the arm of my chair while leveling it onto the arm and back sticks.
Chris had started the process for me, demonstrating how to lightly tap each side, alternating between either side, back and forth, back and forth, until the arm sinks evenly onto the sticks. I was about to be handed the hammer when I heard Chris curse. Even after carefully tapping the arm had split in its weakest location on the left side.
While my heart was sinking, Chris sprang into action and took over the operation. He finished lowering the arm, trying not to worsen the hairline crack that nearly split the piece in two. Once either side of the crack was in the same plane, he carefully poured glue atop the opening, allowing gravity to pull the glue downward. Using dental floss to pull glue through the inside of the split, he assured me that “sometimes these things just happen.”
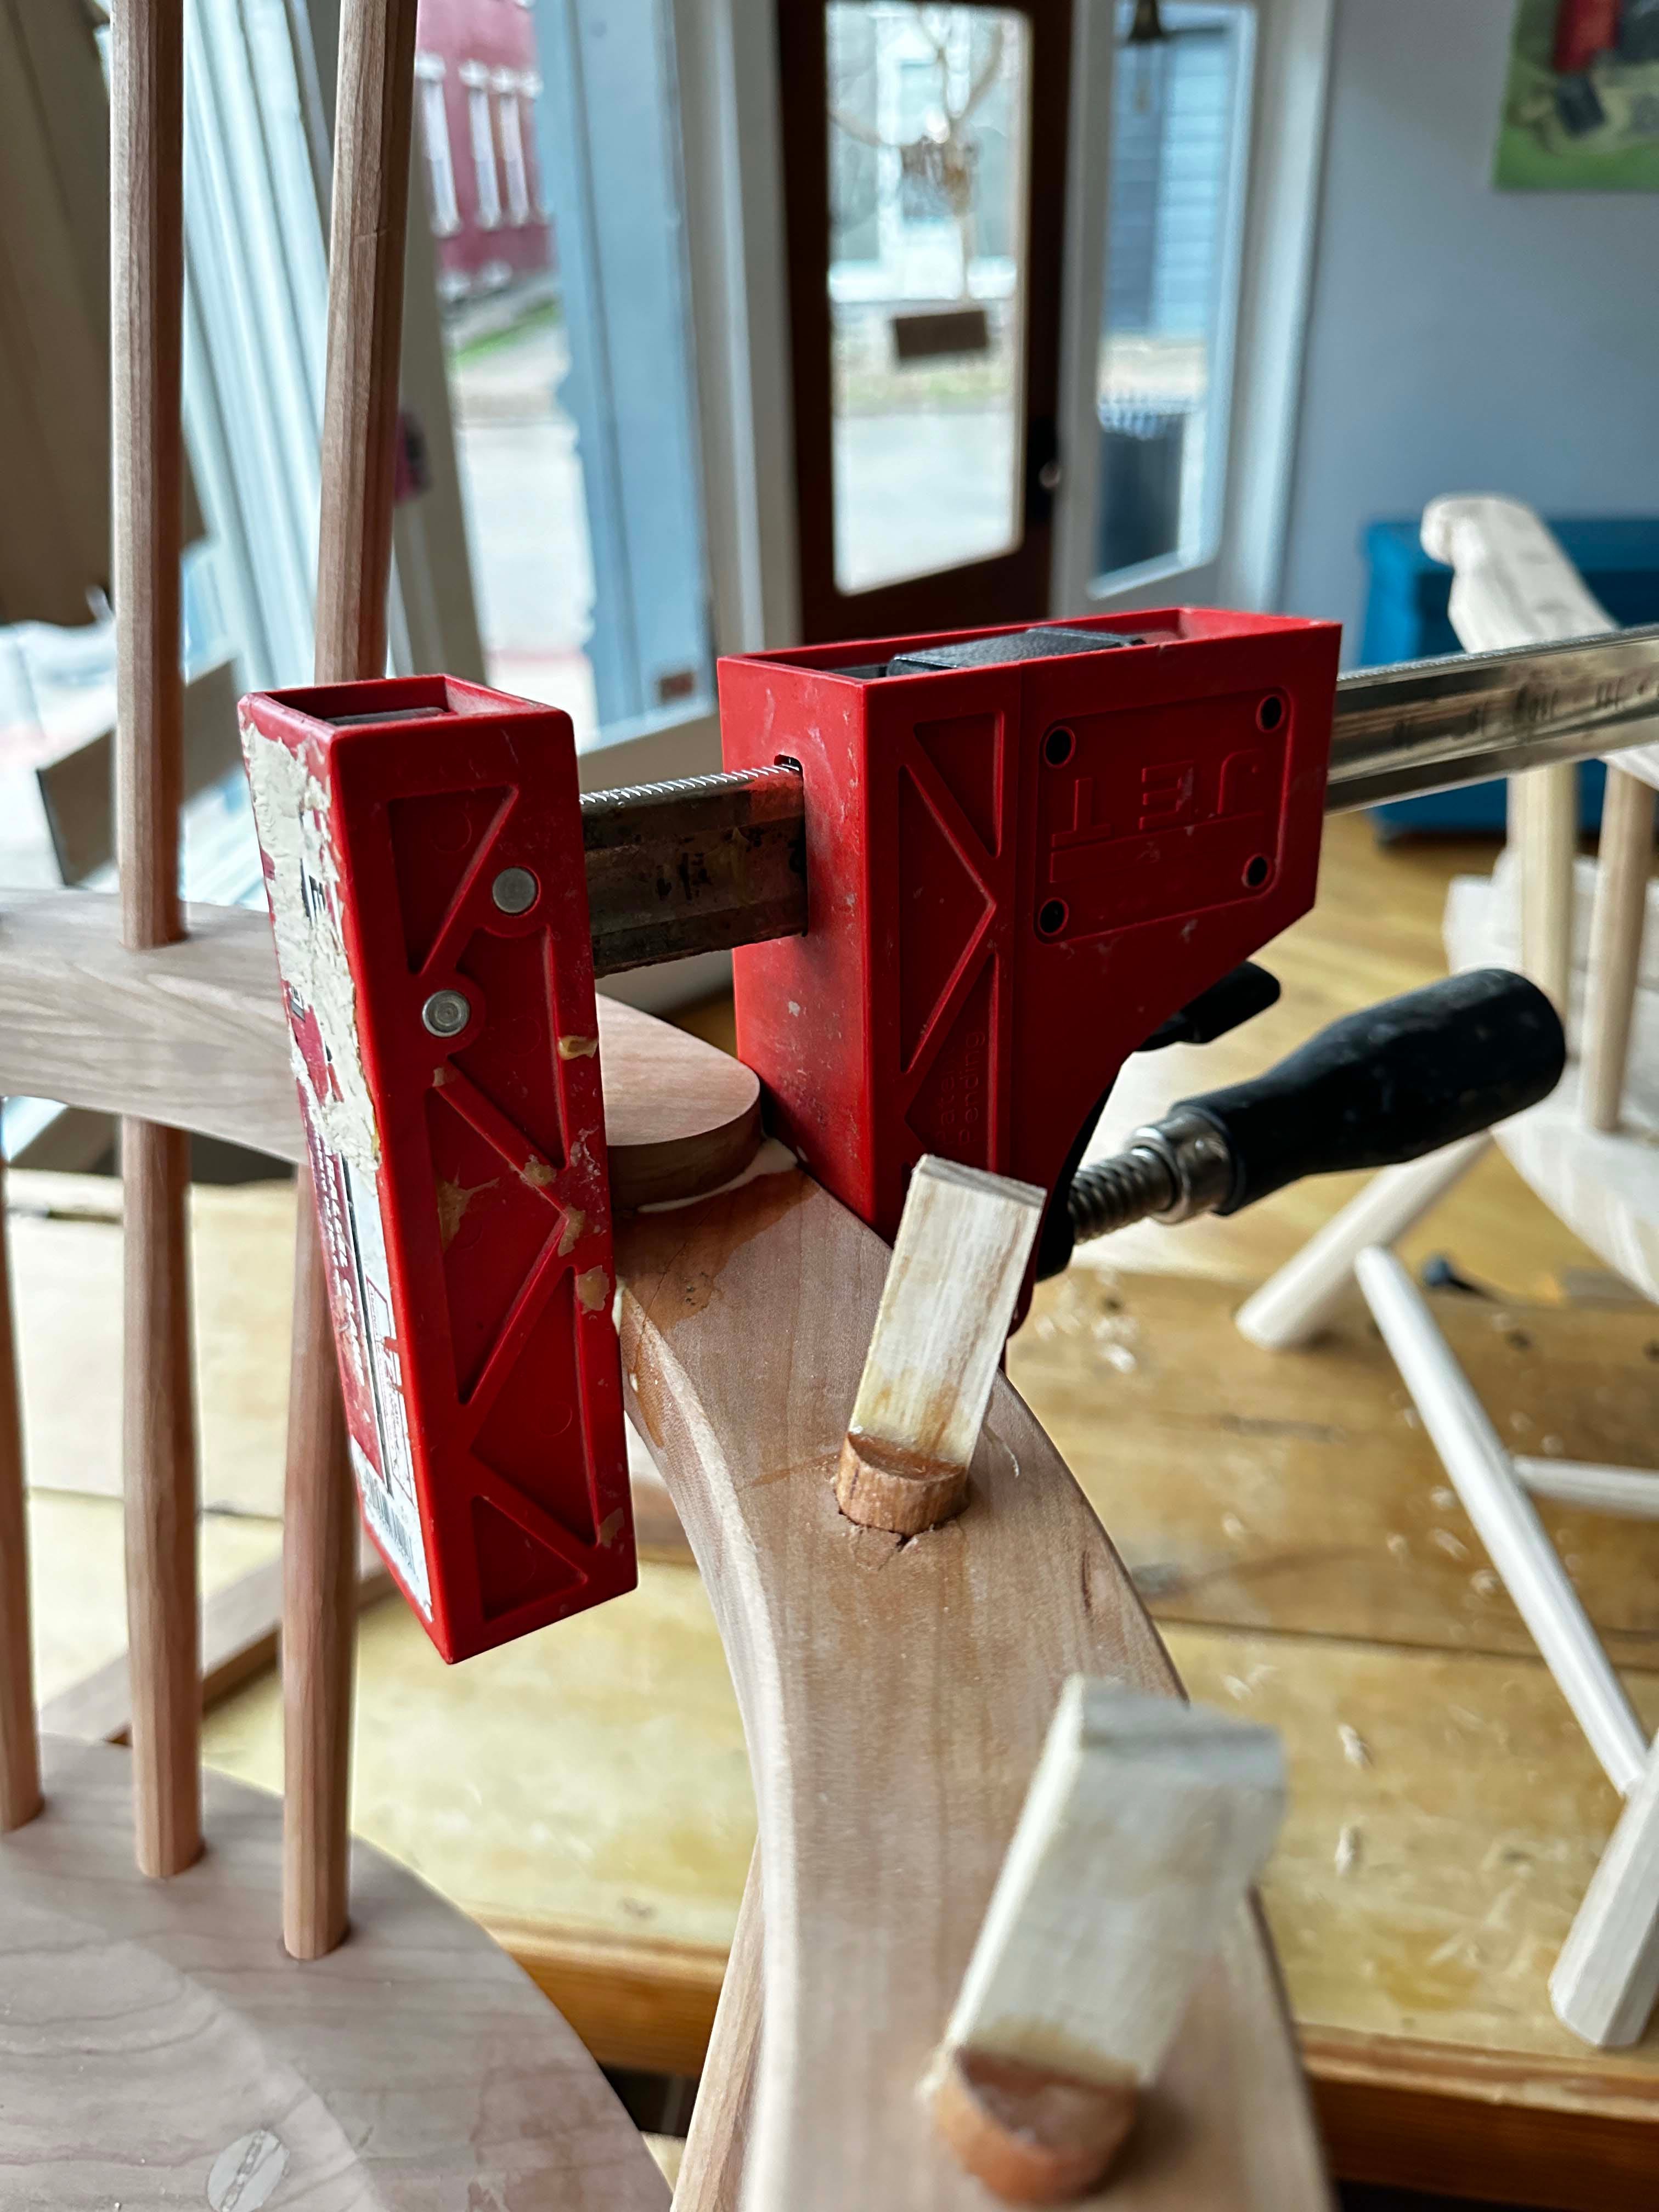
Chris was fast in the repair, I could tell he was struggling to talk his way through the process. Once the glue was in place, a clamp was used to hold the break together. Chris felt confident a night of dry time would erase the split completely.
Before the debacle, I had begun the day rasping the edges of the arms and backrest to my liking. I’d known I wanted a bold, rectangular-shaped arm from the get-go, I enjoy a minimal look. I chose to lightly soften the edges; I didn’t want to lose the fullness of the arm end in my hand. Along the bottom I broke the edges just barely with #120-grit sandpaper.
This was my first time working with rasps, and the slow rhythmic motions made me lose track of time. I began with an aggressive bite, feeling the edges and checking my work after so many strokes, then finished with the finer rasp. I admit that I let myself get carried away; after an hour or so Chris decided to take over finishing the arm while I cut two blocks of ash for wedges.
Chris’ confidence during the arm repair brought me ease. It’s nice to be reminded that these unexpected moments are common in woodworking and that repair or disguising is often part of the process. I’m eager to come back soon to revisit the arm mend and play with comb ideas.
Christopher Schwarz
Jan. 9, 2024
Today I broke Kale’s arm while we assembled her first chair. Her chair is in cherry, which is a bit brittle. And there’s some short grain where the shoe and the arm meet.
But it has been a long time (years) since I have split an arm during a glue-up.
I was tapping the arm in place. Everything was going in easily, and there were no misaligned mortises or ornery sticks. It didn’t even make a sound when it cracked.
“The wood hates you and it wants you to die.”
The keys to making a fix when glue is drying: 1) Don’t freak out. 2) Examine closely the damage before you try to fix it. 3) Make a plan, then gather all the tools you need.
The two broken arm pieces were misaligned (discovered and confirmed by laying a straight block of wood across the split). I figured the split would come together if we got the pieces aligned. So first we squirted some yellow glue into the crack and coated its interior surfaces using dental floss.
Then I knocked the pieces back into alignment, and the split began to close. When they were perfectly in line again, the crack was still evident. So I pulled the two pieces together with a parallel-jaw clamp. And there we’ll leave it for 24 hours or so.
It looks like a good repair that will be invisible.
“My chair is a delicate one,” Kale said.
Other than the split, the chair looks quite good. Kale opted for five sticks for the back. And the shape of her chair’s hands are not from my library of shapes. But they look right. It’s going to be a good chair.
The other big event of the day (besides the roof leaking at our warehouse) is that Kale, Megan and I discussed the possibility of Kale coming to work for Lost Art Press.
The only real barrier is cash – we’ve spent more than $500,000 on repairs to our warehouse building on Madison Avenue since April. So I want to get through the major repairs to the material lift and back wall before we spend more money.
I feel sure we can make it work in time.
In many ways, this has all been serendipitous, kismet, whatever. During the last decade I’ve had a fair number of people ask to become an apprentice. But there was always something off about the people who approached me. It always seemed like their goals were different than mine. They wanted to – and I know this sounds strange – be me. Do exactly what I do.
And that’s not what I want in an apprentice. It feels more like hiring a stalker to torment you.
Kale, on the other hand, has an advanced case of Chair Disease. She wants to make 1,000 different chairs and learn everything about them. She gets genuinely excited when I show her a photo of an odd chair. She loves the weird ones (another good sign).
And her hands are telling her: This is what you should be doing. Woodworking comes so easy to her, and she has a calm and patient manner – perhaps from watching Bob Ross every morning.
She doesn’t really give a shit who I am or what I’ve done. I’m just the old guy who knows what she wants to know.
And that is the kind of person I’m looking for (and have found).
Introducing ‘Pre-flight.’ Or: How not to Break and Arm
After breaking Kale’s arm, I decided to figure out a way to prevent broken arms. I came up with a process that I call “pre-flight.” It really helps.
Step 1: Compress the tenons of all the sticks that go into the seat. Compress them until they slide in “like a hotdog down a hallway.” This might take two rounds of compressing the tenons.
When the warm wet glue hits the compressed tenons, they swell back up. Almost to their original size (I’ve tested this with joints for years and years).
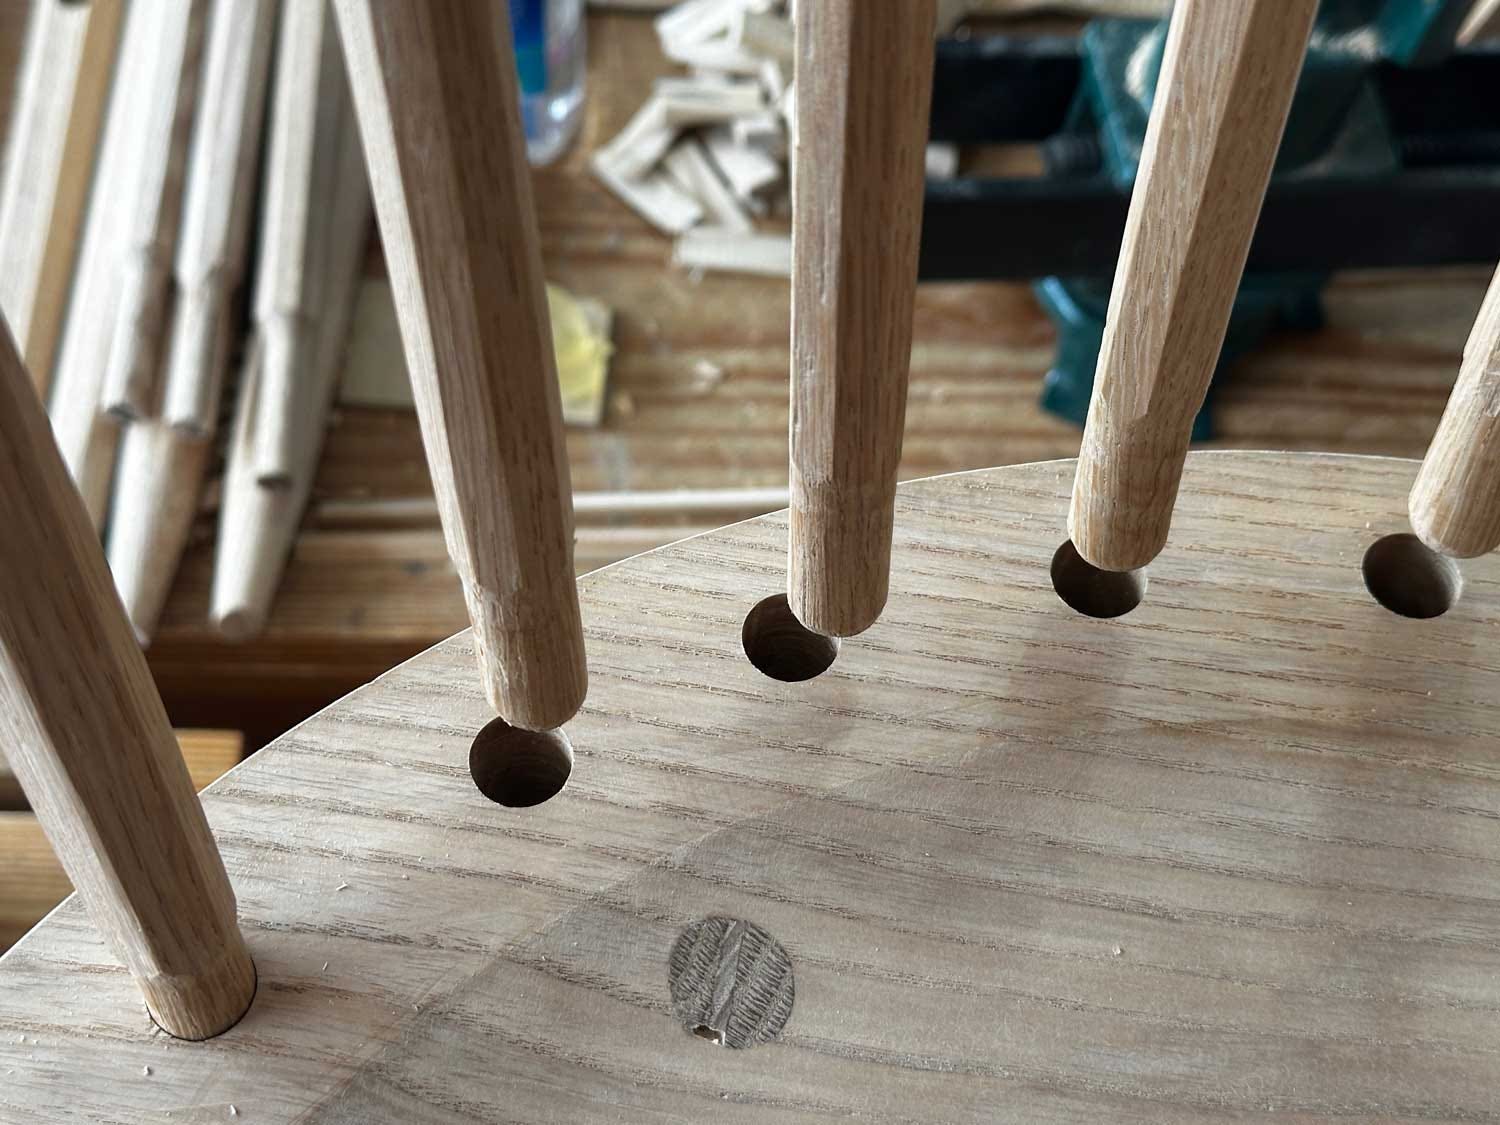
Step 2: Do a dry almost-assembly. This is where you put all the sticks in the arm. Then you put the short sticks in their seat mortises about 1/8" deep. Then you pull the long sticks down to see if they will align with the mortises in the seat.
This quickly points out any problems in the mortises in the arms. If you have to bend a stick to get it near its seat mortise, you are asking for a broken arm. You need to give that stick some mobility.
To give the stick the mobility it needs, use a tapered reamer to open up the mortise on the underside of the arm. A little reaming gives the stick a lot more room to move.
Then do another pre-flight check. If all the sticks will go lightly into the seat mortises, you are ready to get the glue out.

 | A guest post by
|
Another learning moment. Interesting you used yellow glue instead of hide glue. Will this chair be painted?
No matter how good you are or how hard you work, sometimes the dragon wins.