
Create a Critter Worth Sitting On
The fatter the animal, the better.


I know this is a woodworking Substack so you might be getting sick of this painting stuff but here comes Miss Art School ( not a humble brag, by the way – I went to a college that was known for its nursing program) with more of her bulls%$t.
Lost Art Press has taught me that the final step of making a chair is the “make pretty,” where you clean up all machine marks and refine surfaces. Yes, I do this before painting – but it’s not my make-pretty step. Painting is my personal make-pretty step. It makes the chair one of a kind and adds depth to the overall look of the chair. What I love about painting furniture is that there are no rules – you can paint Eraserhead Baby 33 times over and no one will question you, unless they’re an asshole with bad taste. I aspire to build something and cover it in intricate details at least once. The slight asymmetry in the examples below is very pleasing to my eyes. Maybe I’ll start adding some personality to the outside of my Dutch tool chest….


Before I get there, it’s important to me that I start small. For now, I only fill some blank spaces on a chair until it looks a bit more full. I figure out what flower, shape or critter will fit in a space that looks a bit too bare. I don’t quite have the street cred or the confidence to blast paint everywhere on a nice handmade piece.
I do, however, feel confident enough to talk through my process of covering a blank spot with a creature, flower or what-hav-yuns.
Sketch
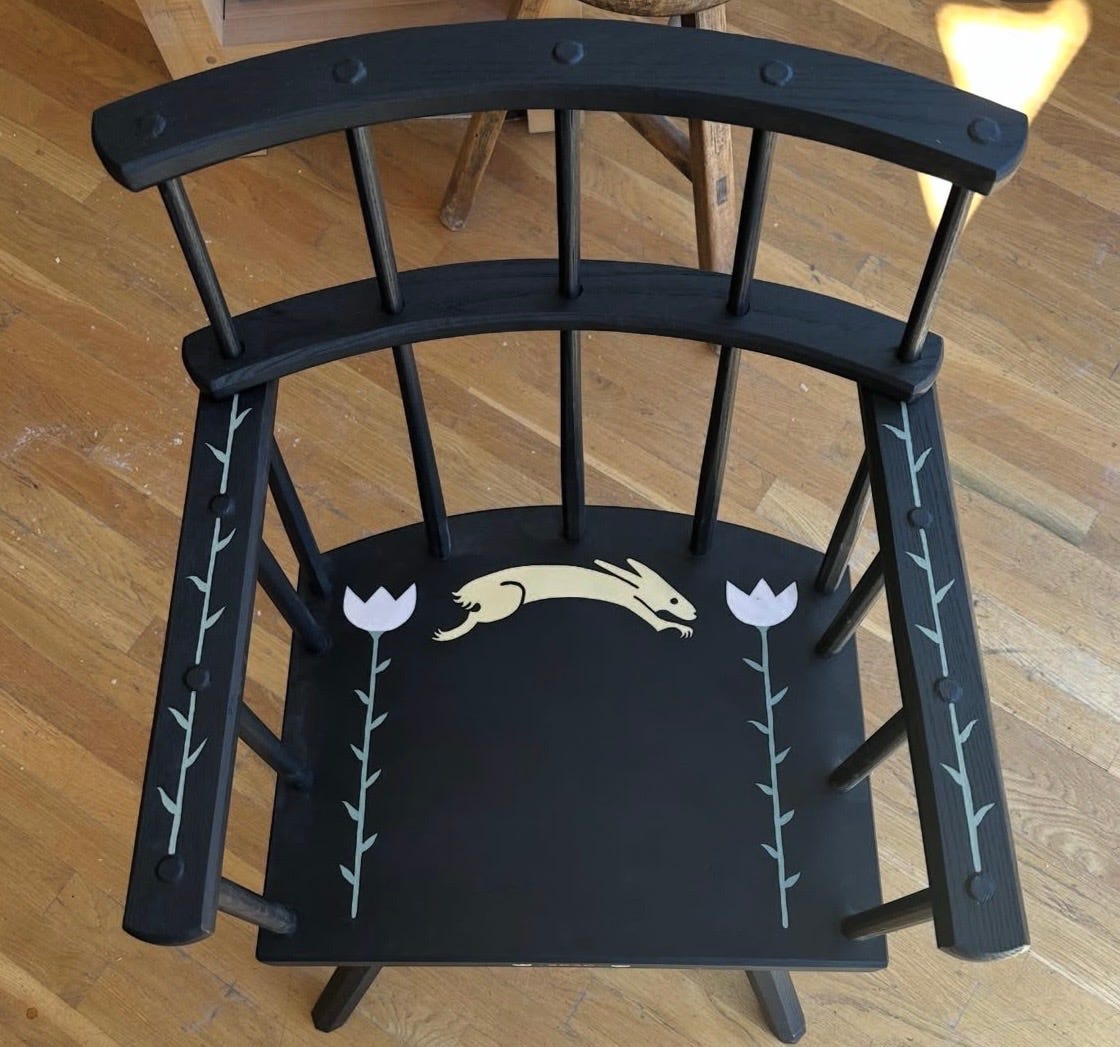
“Silhouette” is the key word for this step … and most of the other ones. I’ll be talking about the hare (shown above) through most of these steps.
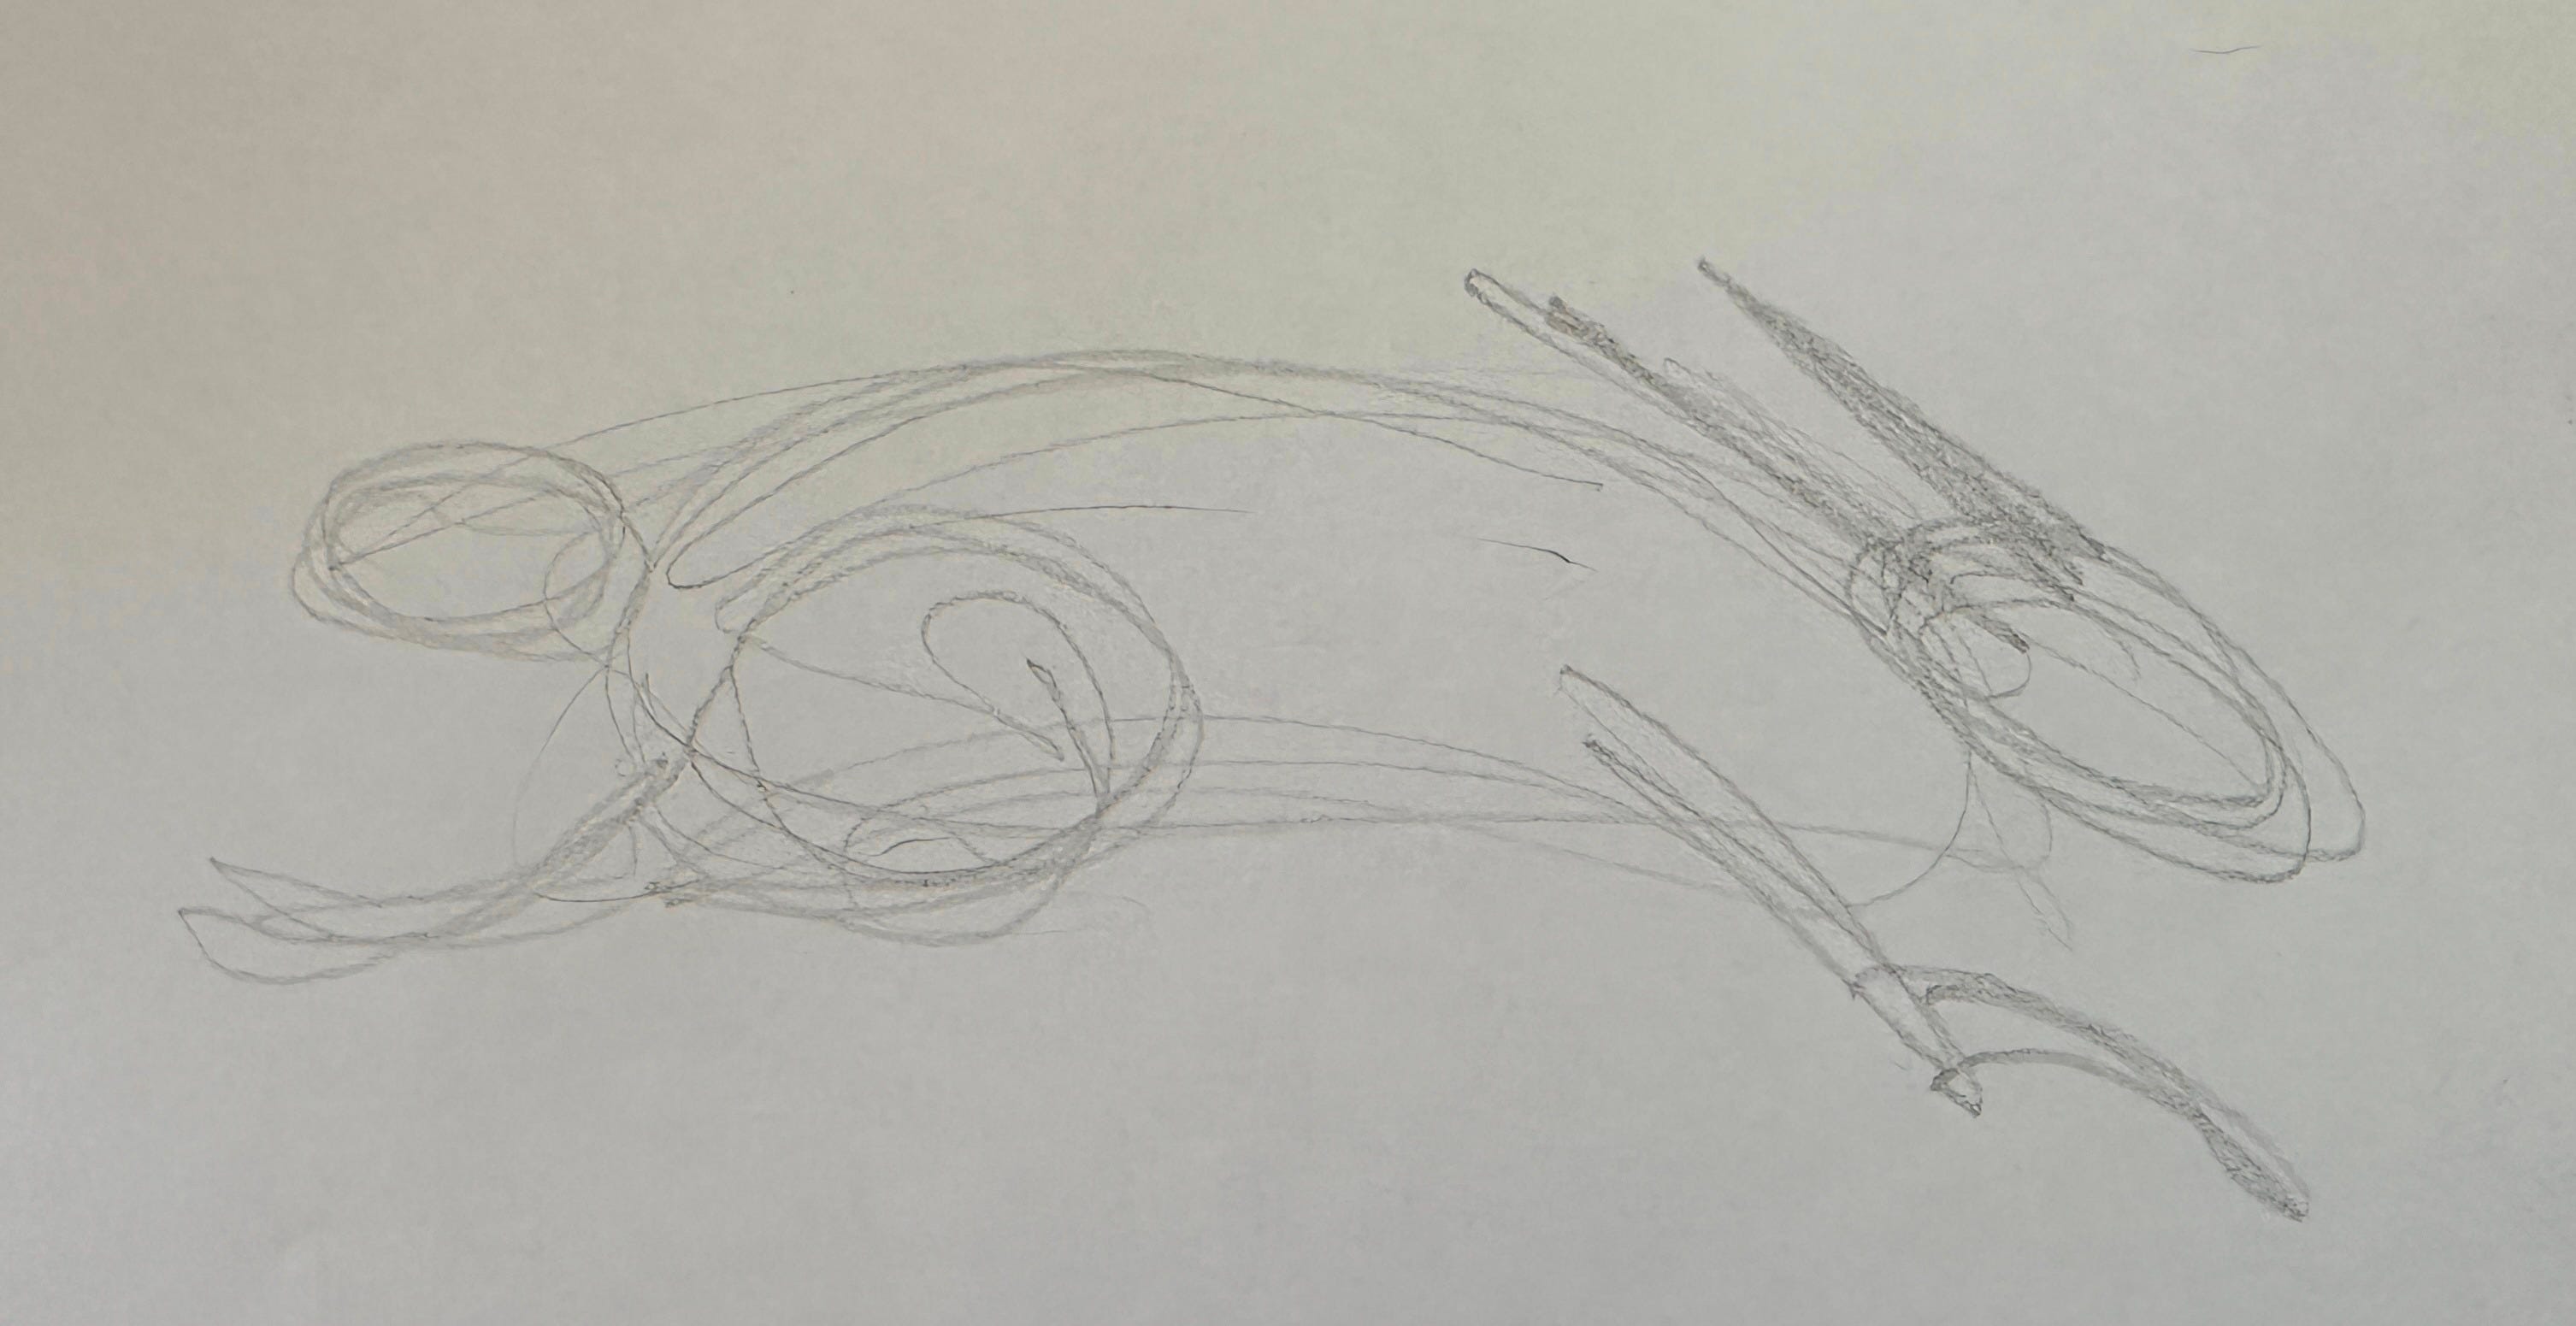
Start with a ROUGH sketch of what’s in your brain. The sketch should only be made up of blobs and lines that somewhat resemble what you want to paint.
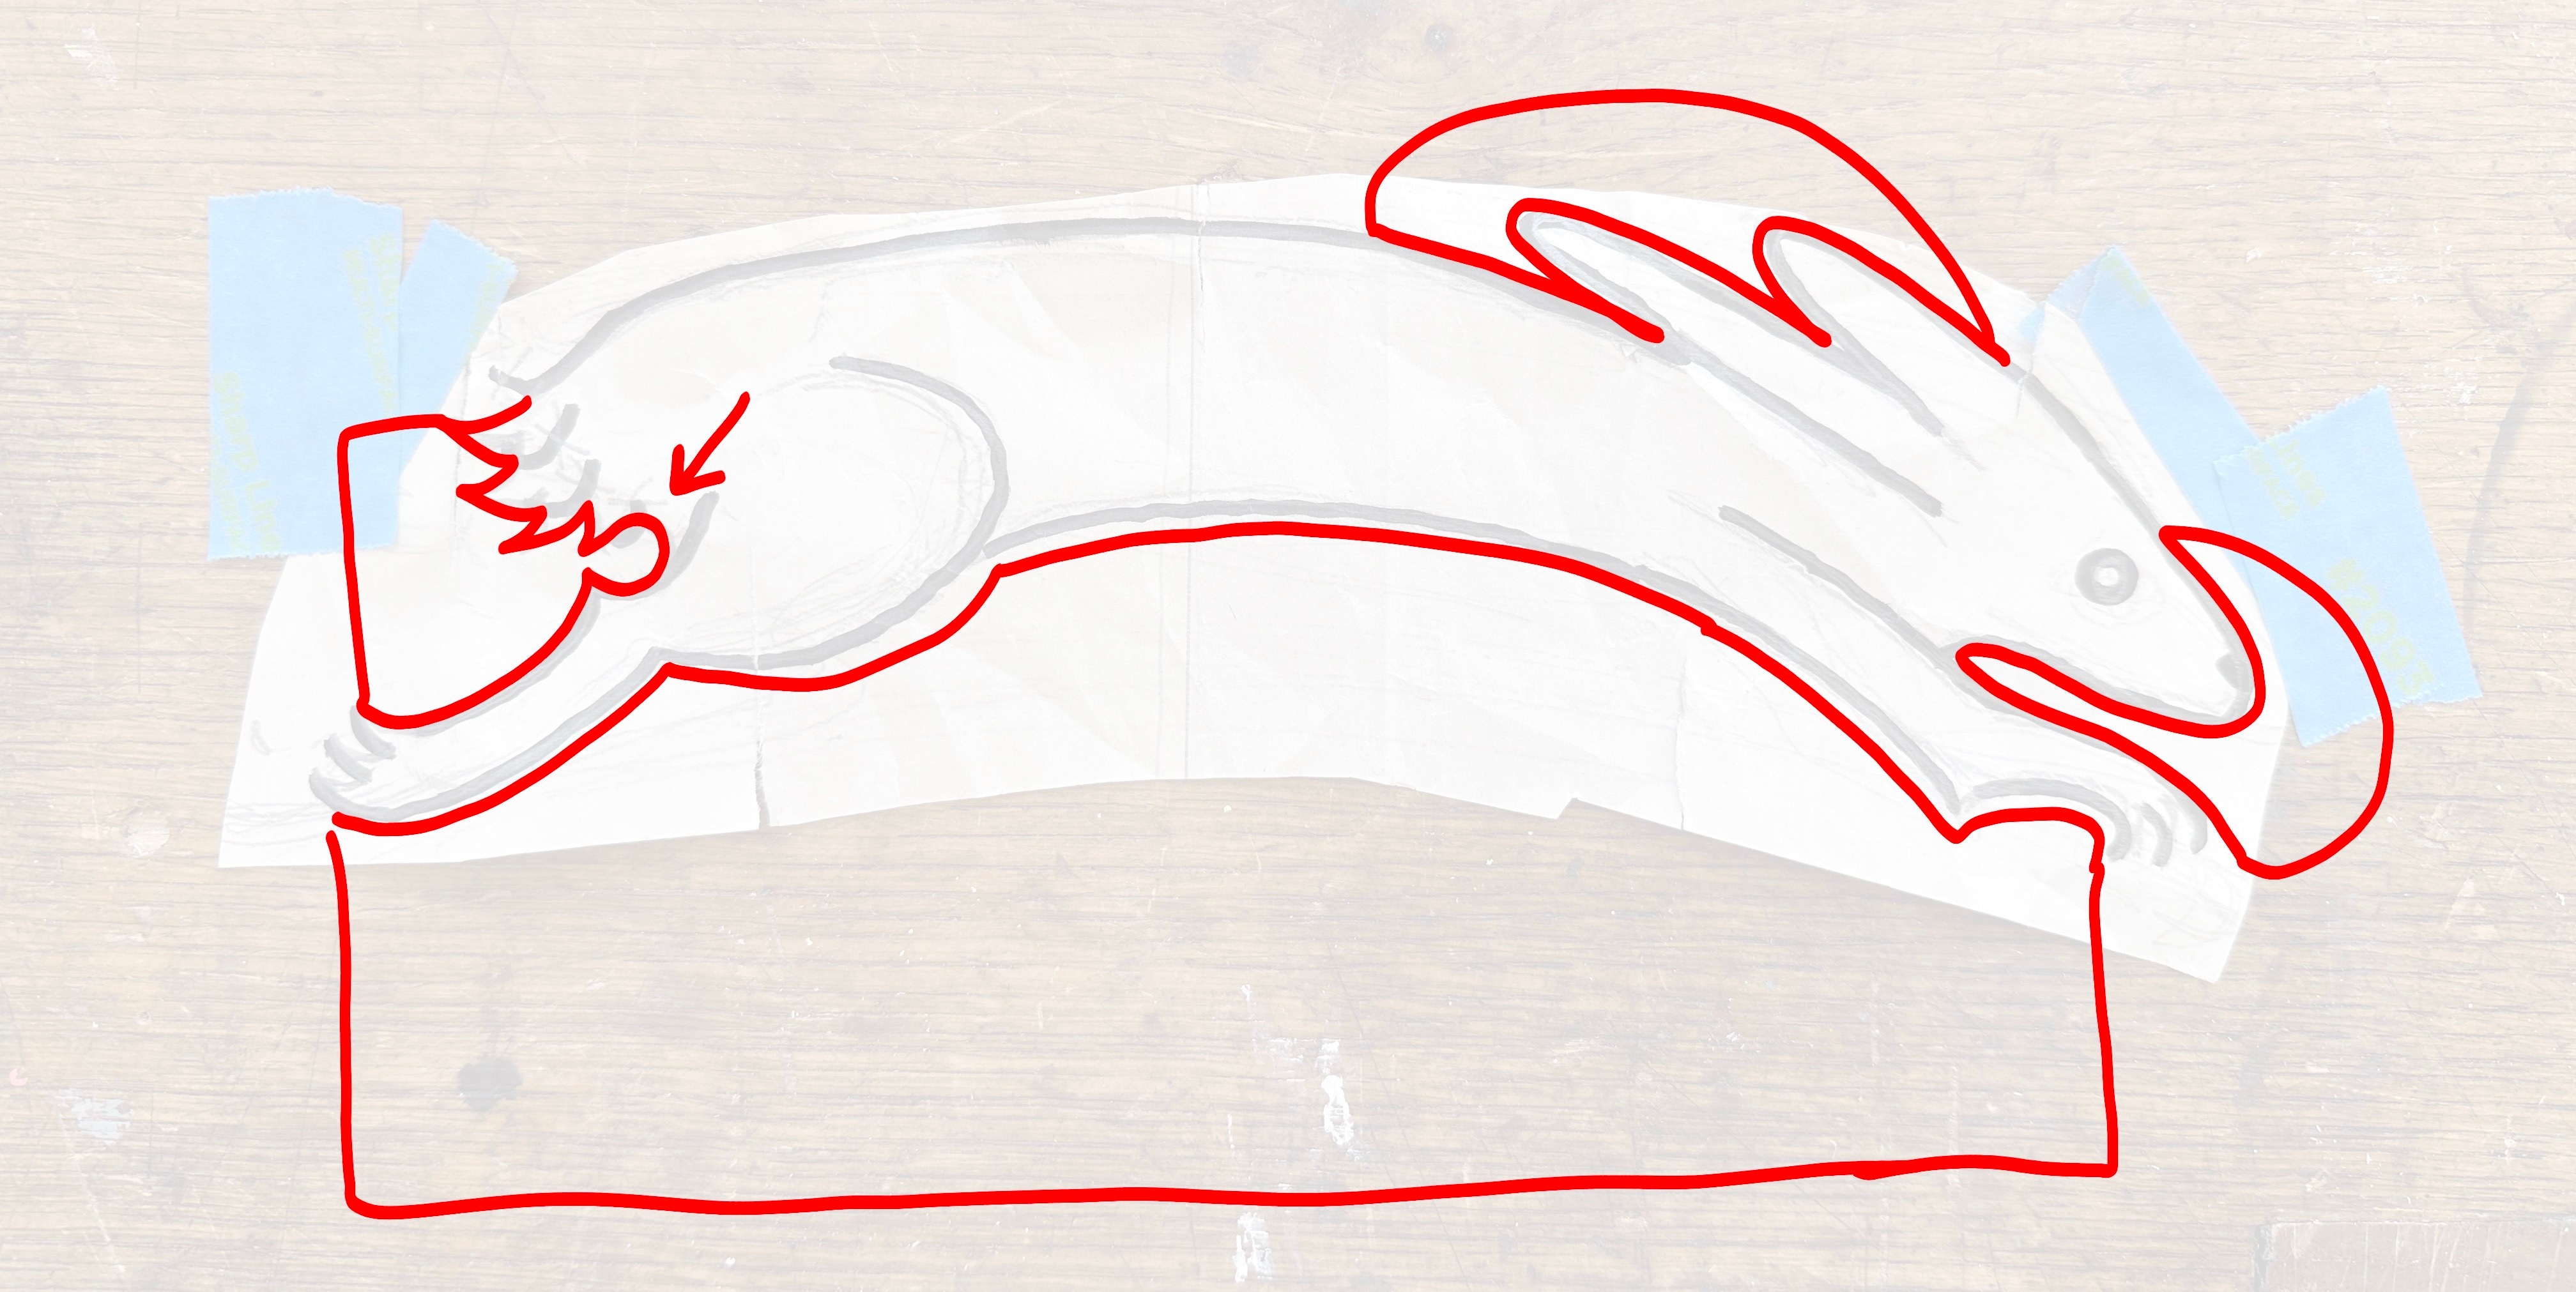
I’ve talked about this in a previous post, but finding shapes in the negative space around the image is how I start forming the overall shape of the piece. In the image above, I outlined some of the key areas in red that I was looking at in this step. The trickiest one for me is the space between the tail and the back leg. It was a super-tight place to work in, and I had to make sure there were no points of contact between different parts of the hare.
In this step I use part of my puzzle-loving brain by imagining these sections as puzzle pieces. Are the thin areas too thin to keep the imaginary puzzle piece sturdy? If so, then you should thicken it out more, i.e. make the negative space wider. This is the reason I struggled the most with the rear end of the hare. No matter what I tried, there were always some lines that were really close together – but I think it evens out in the end.
Always consider proportion when drawing these shapes. Yes, rabbits do not look like this in real life – but the image would look off if I made the back leg smaller or the head bigger.
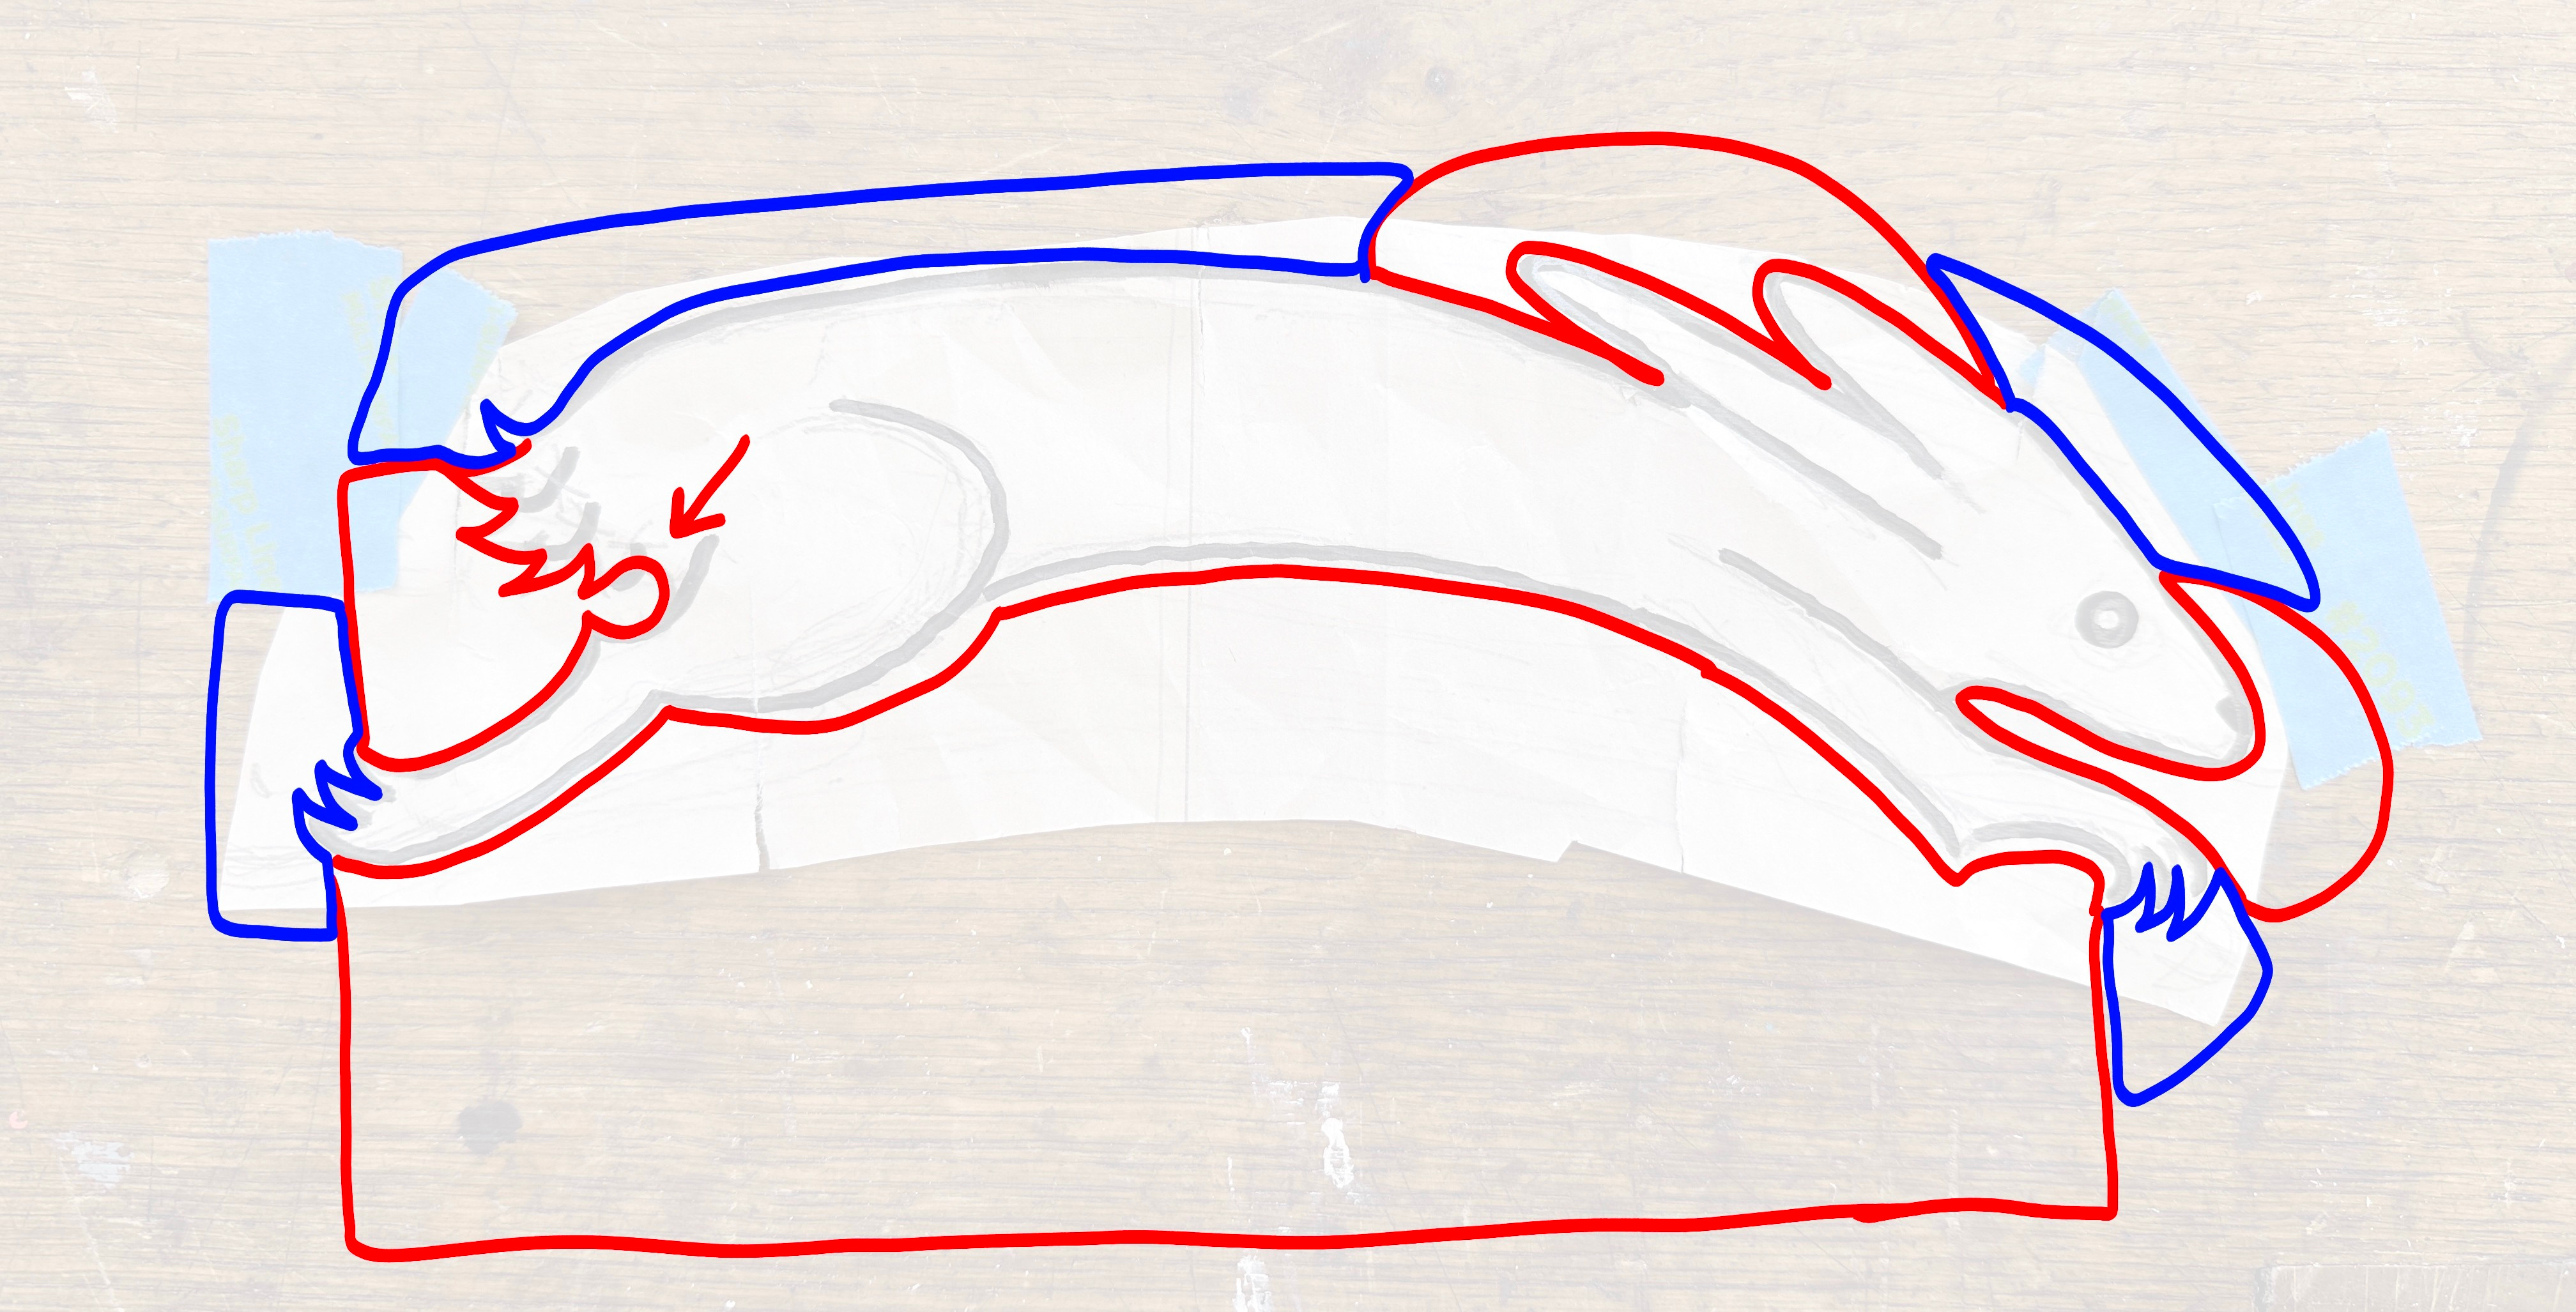
After finding the shapes in the negative space you want to connect them all together (shown as the blue areas in the picture above). Keep your eyes blurred and your pencil marks light as let your brain fill in the gaps until it looks like a pleasing shape.
Transfer the sketch
Keep reading with a 7-day free trial
Subscribe to The Anarchist's Apprentice to keep reading this post and get 7 days of free access to the full post archives.